Topics
- Urgent Help
- Sales Module
- Discuss
- Calendar
- Live Chat
- Website Manager
- Property Management System
- Room Servicing
- Extras
- Emails
- Creating Email Templates
- Selling Groups
- Customer & Companies
- Agents & Sales Channels
-
Rates
- Dynamic Rates
- Back End Setup Dynamic Rates
- Room Rate Selling Group Mapping
- Rate Calculation
- Back End Bookings
- Front Booking Screen Dynamic Rates
- Rates & Min Stays calendar screen
- What your Customers See
- Changing Rates - Guide
- Price Change Long Term
- Change Min Stay ( long term)
- Multiple Min Stay Prices
- Day of Week Price Variation
- Create New Rate
- Promo Codes
- Bookings
- Acquire Credit Card Details
- Make A Booking
- Full New Booking
- Cancel a Booking
-
Payments & Invoicing
- Invoice & Debtors
- Invoice Due Date
- Create Invoice
- Invoice Payments
- Reasign Invoice Payment
- Cancel / Amend Invoice
- Invoice Agents Comissions
- Invoice Journaling
- Reset Audit Errors
- Debtors
- Adding A Booking Payment
- Refund A Booking
- Charge Cancellation Fee
- Split Payments
- Customer & Company Account Trans
- Amend / Delete Booking Payment
- Reports
- Marketing Module
- Settings
Cropping Images
You can crop an image to fit the correct size, this is especially important for images used for a slideshow or for the banners on top of pages which are generally longer and thinner images, so generally always need cropping for the best outcome.
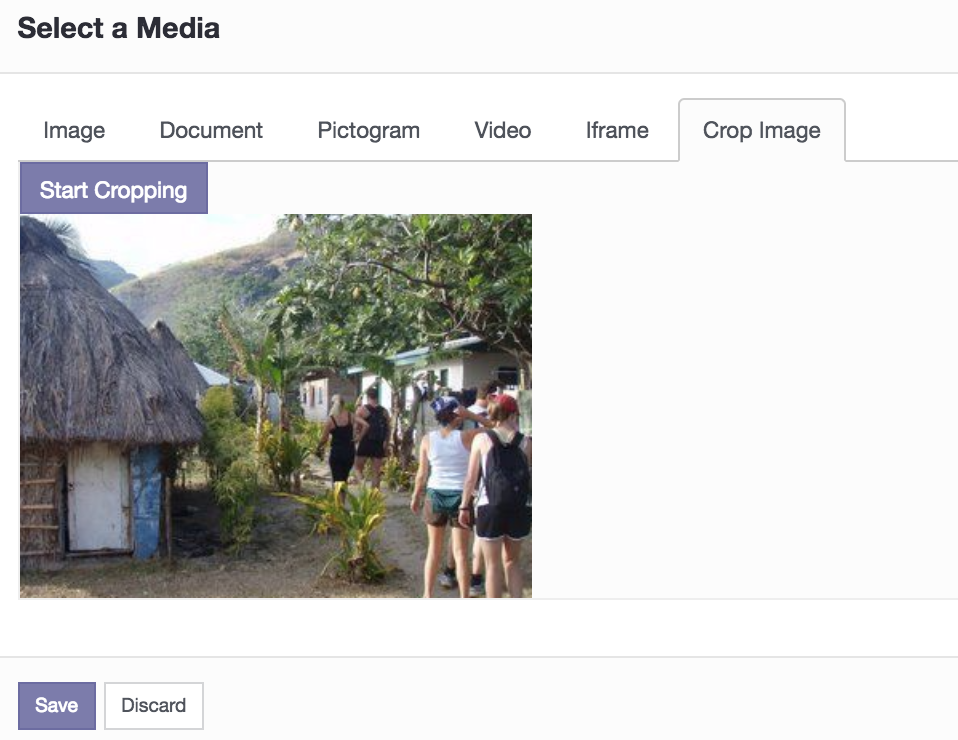
To crop an image you follow the normal procedure if the image is already loaded and saved in the page or as a banner image or slideshow image just click on the small pencil in the top left corner of the image, remember if you are editing a banner or slideshow image you need to have clicked edit for the page to be able to select this pencil icon.
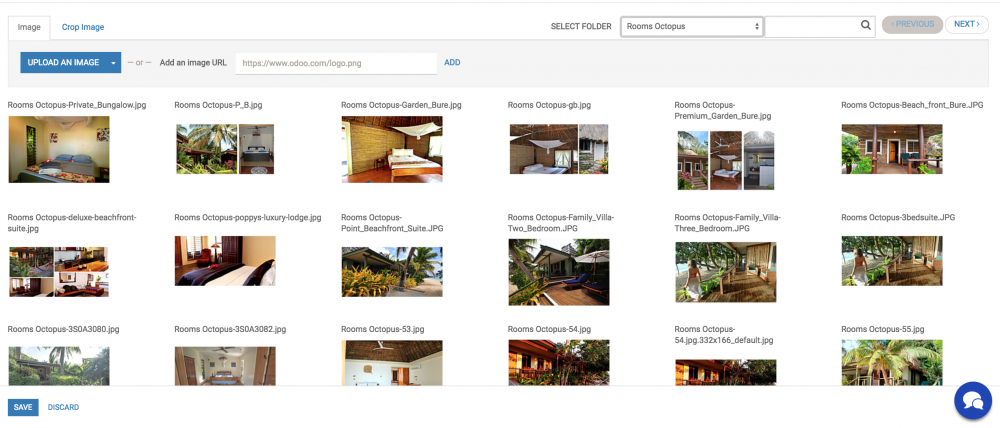
You will see a tab called crop image select this tab. If you do not yet have an image selected then pick one from a folder and then select the crop tab. ( You just need to highlight the image and then go to crop) . If there is already and image in the location and you are changing images you will need to 1st save the image and then click again on the pencil icon and chose the crop image tab.
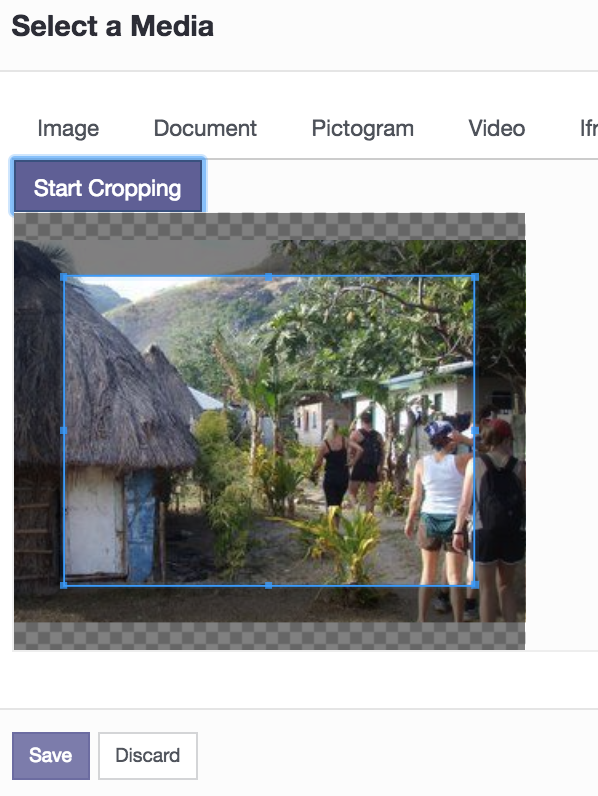
Now you click the start cropping blue button. You will then see the following.
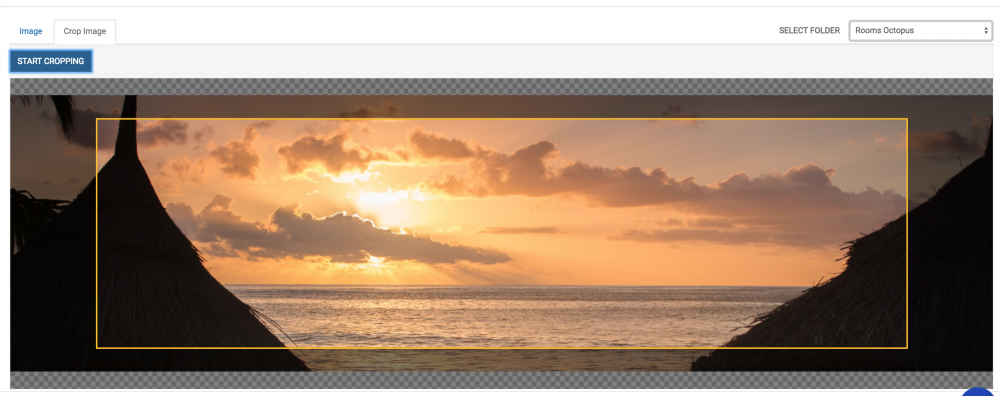
You can now move the image around under the crop box, using your mouse , you can also scroll up and down the image on the right side of the window, and you can zoom in and out on the image to get the best position for cropping. Once you are happy with the image you want cropped click save and then save the page and your image will be now the correct size for the slide or the banner image.
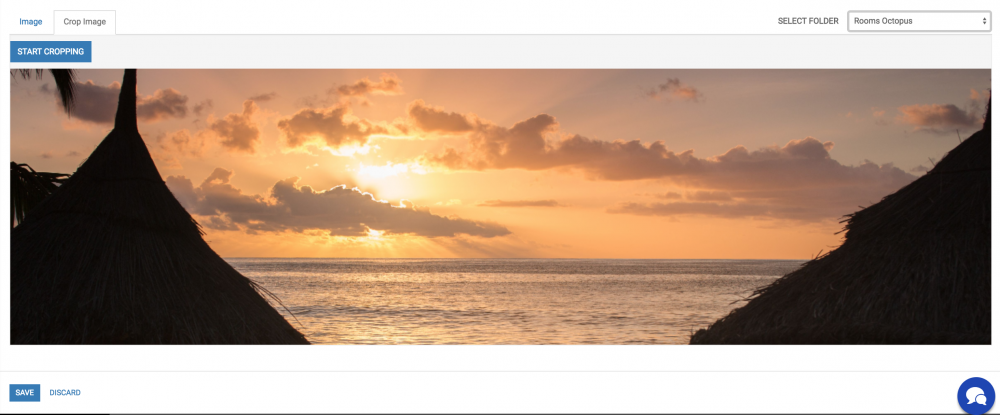
The crop tool also works in the larger main page editor as well. It works bascially the same, if you are building a new page add your place holder image box/es and then double click to edit then select an image and then choose the crop tab which is the last tab.
See the images below :